Labels

Saturday, March 24, 2018

Easter Bunny sighting


Little Elizabeth thought the Easter Bunny would be a bit chilly while delivering his eggs in the early morning.
So she left him some warm tea and sweet treats. Secretly hoping to see him for herself, she took her time making sure the display of cookies was perfect. When she heard a rustling in the garden she quickly hid behind the post to have a peek.
He was much taller than she had imagined but his white coat just as fluffy.


His nose twitched and ears turned as he hopped onto the porch to enjoy his warm tea and a delicious cookie.
She could barely breathe as she stayed hidden behind him in the corner of the porch. With a twinkle in his eye and a few hops he was once again in the garden and on his way.


She watched as he left and gathered the sky blue egg that he tucked away in the flower bed.
Elizabeth thought the Easter Bunny was not aware of her spying eye. But you can be sure he is only seen when he wishes to be seen. Perhaps this magical sighting was a little present for her thoughtfulness and generosity.


Beautiful doll made by Iris Bodenbender. Easter bunny made by me! (Bunny has bendable arms, legs torso, and ears. Head turns. Sculpted, furred and dressed))

Tuesday, February 20, 2018

I'm on Instagram!

Follow me on Instagram!


https://www.instagram.com/auraleakrieger/

Monday, February 19, 2018

Miniature elf doors for dollhouse

I finished all the doors in the fantasy build! The main entry door is so fun! All of the doors were extremely meticulous and made from scratch. Wood, paper and wire. A necklace charm is on the door window.

Here is a link to my other blog to show how I did the hinge. For these wood doors I also carved away a notch for the hinge to sit in.


Miniature animals

I occasionally list my creation or other minis for sale on my eBay store


Cover of American Miniaturist


Very flattered that the publisher ask that the foyer from my Ophelia dollhouse be on the cover of the March issue of America Miniaturist!

Sometimes it is tricky for me to separate myself as editor and also as a miniature artist. My number one goal is to support other artists through this publication, so sharing my own work as a feature can feel a bit awkward. But because March is my birthday month this is a wonderful present.

I have chosen American Miniaturist as a platform to feature my Ophelia dollhouse tour over the next few months.
The first time I was ever featured many, many years ago, before being editor, was in AM as a contributor. So this publication has remained close to my heart.

Sunday, February 11, 2018

Elf miniature kitchen

Because my elf tree house kitchen is so small I have to make all of the pieces myself so they will fit.


I was really nervous about the cooking wood stove, but am very happy with how it turned out!
Mat board, paper and glue, and then a jewelry embalmment, paint, and pins.
For the oven rack I used wire and Super Glue.
Here are some photos to show how I did it.


The sink and the hutch was made from wood. The hutch legs are obviously stair spindles.


The metal washing tub was made from paper, thread, and wire. Then I painted it.


I still want to add two nature themed paintings to the hutch door insets. Lots more to do! Thanks for stopping by.:)

primitive miniature tools

I needed some tools for my elf tree house and luckily they only needed to be primitive.
I sometimes contemplate putting up tutorials that are very simple but then I remind myself that it’s not always abut the complexity of a how-to. Many times it is more about what it will inspire someone else to make.
Sometimes I see a simple tutorial that inspires me to make a scene I never would have thought of. So here it is…

Primitive wood hammers
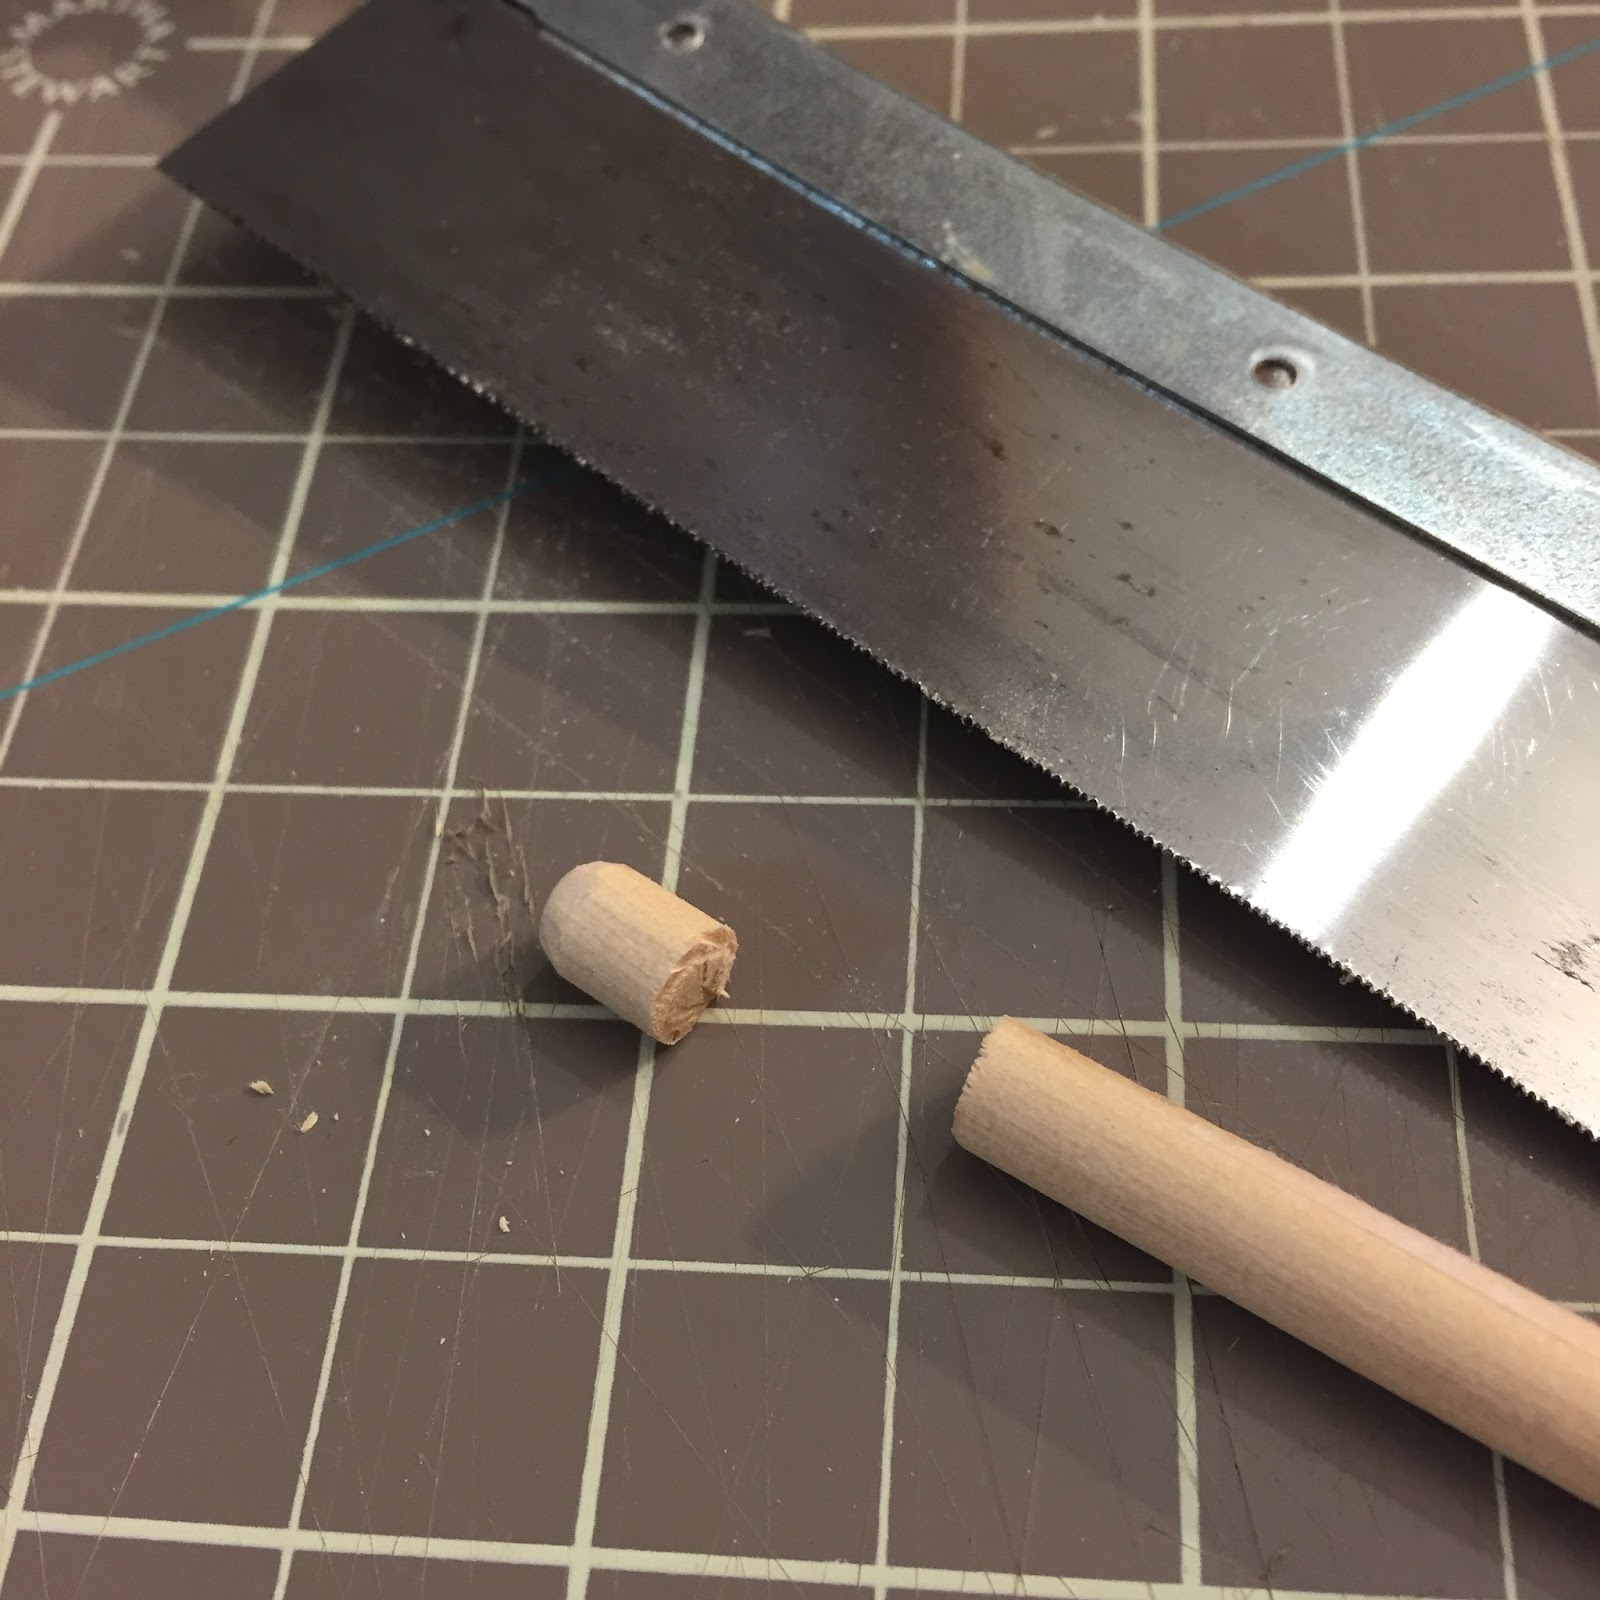
Start with a wooden dowel. This one is about 1/4” in circumference. Carve the end so it’s rounded. Get a drill bit that is as wide as a toothpick and drill a hole in the center.
Sand it so it is semi smooth. Perfectly smooth if you want something more modern.


Cut the end off the dowel. Cut a toothpick and sand the end and glue it in the hole.

For the mallet/hammer use a similar method.

Stain everything your desired color.

Axe
Draw your handle shape on a piece of basswood. Carefully trim around it with an X-ACTO knife. Don’t press too hard or you will spit the wood. Take your time.


Once you get the shape carve the edges gently with the knife to make smoother, but still mainly flat. Sand the edges a little.

Use some polymer clay to shape the blade. Make the wood poke out of the top of the blade. I pressed it on the board in a basic shape. Then cut away what I did’t want. Slide a flat clay blade under it and flip it over. Shape with the knife again then carefully picked it up and shape the blade to have a sharper tip.


Once you are happy put it back down and cut excess clay away from the handle for the final shape. I kept one straight but added a point to the other on the neck of the wood.

Bake according to the manufactures instructions, let cool. You can sand the blade to get it sharper. Paint in a steel grey acrylic then go in and dry brush a lighter grey.

Stain the handle.

I mixed up some silver metallic dust with mat varnish and painted on the shiny blade edge.


Drill
Cut a toothpick and round the edges. Drill a tiny hole in the handle.
I had two tiny drill bits and decided to cut one to use as the tools drill but it went flying when I cut it and got lost in my studio. If you are going to attempt to cut one do it in a plastic baggie so it won’t fly away!
Instead, I covered wire with glue and wrapped thick thread around it in a spiral fashion. Then painted it silver.

Level
I cut into a piece of wood and made a clay handle. Then painted the clay to match the wood.

An acorn cup makes a perfect nail bowl!

The bee’s wax candles took a lot of trial and error to get the color I wanted. They are pretty close. My browns kept turning the clay green when baked.
I ended up using a smaller portion of translucent, yellow, and a tiny pinch of the right brown. If any one needs slim green colored candles let me know I have a large batch for free!