Last winter I made a pair of unmade beds for my Santa cottage.

I wanted the comforters to be folded open and the bed to have a “slept-in” look. I remembered years ago someone told me they put tinfoil in their mini pillows to give them shape so I thought I would try it in a comforter. I like this idea because I can choose to have the bed made or unmade without having to use glue or sewn sections.
So here is how I did it.
Measure your bed to determine the size you want for your comforter. Add about 1/4” around all sides for a sewing allowance. Be sure to remember which side is the foot of the comforter.
Measure your bed to determine the size you want for your comforter. Add about 1/4” around all sides for a sewing allowance. Be sure to remember which side is the foot of the comforter.
Start sewing from the foot end of the comforter leaving about a 2” hole in the center. Turn it right side out.

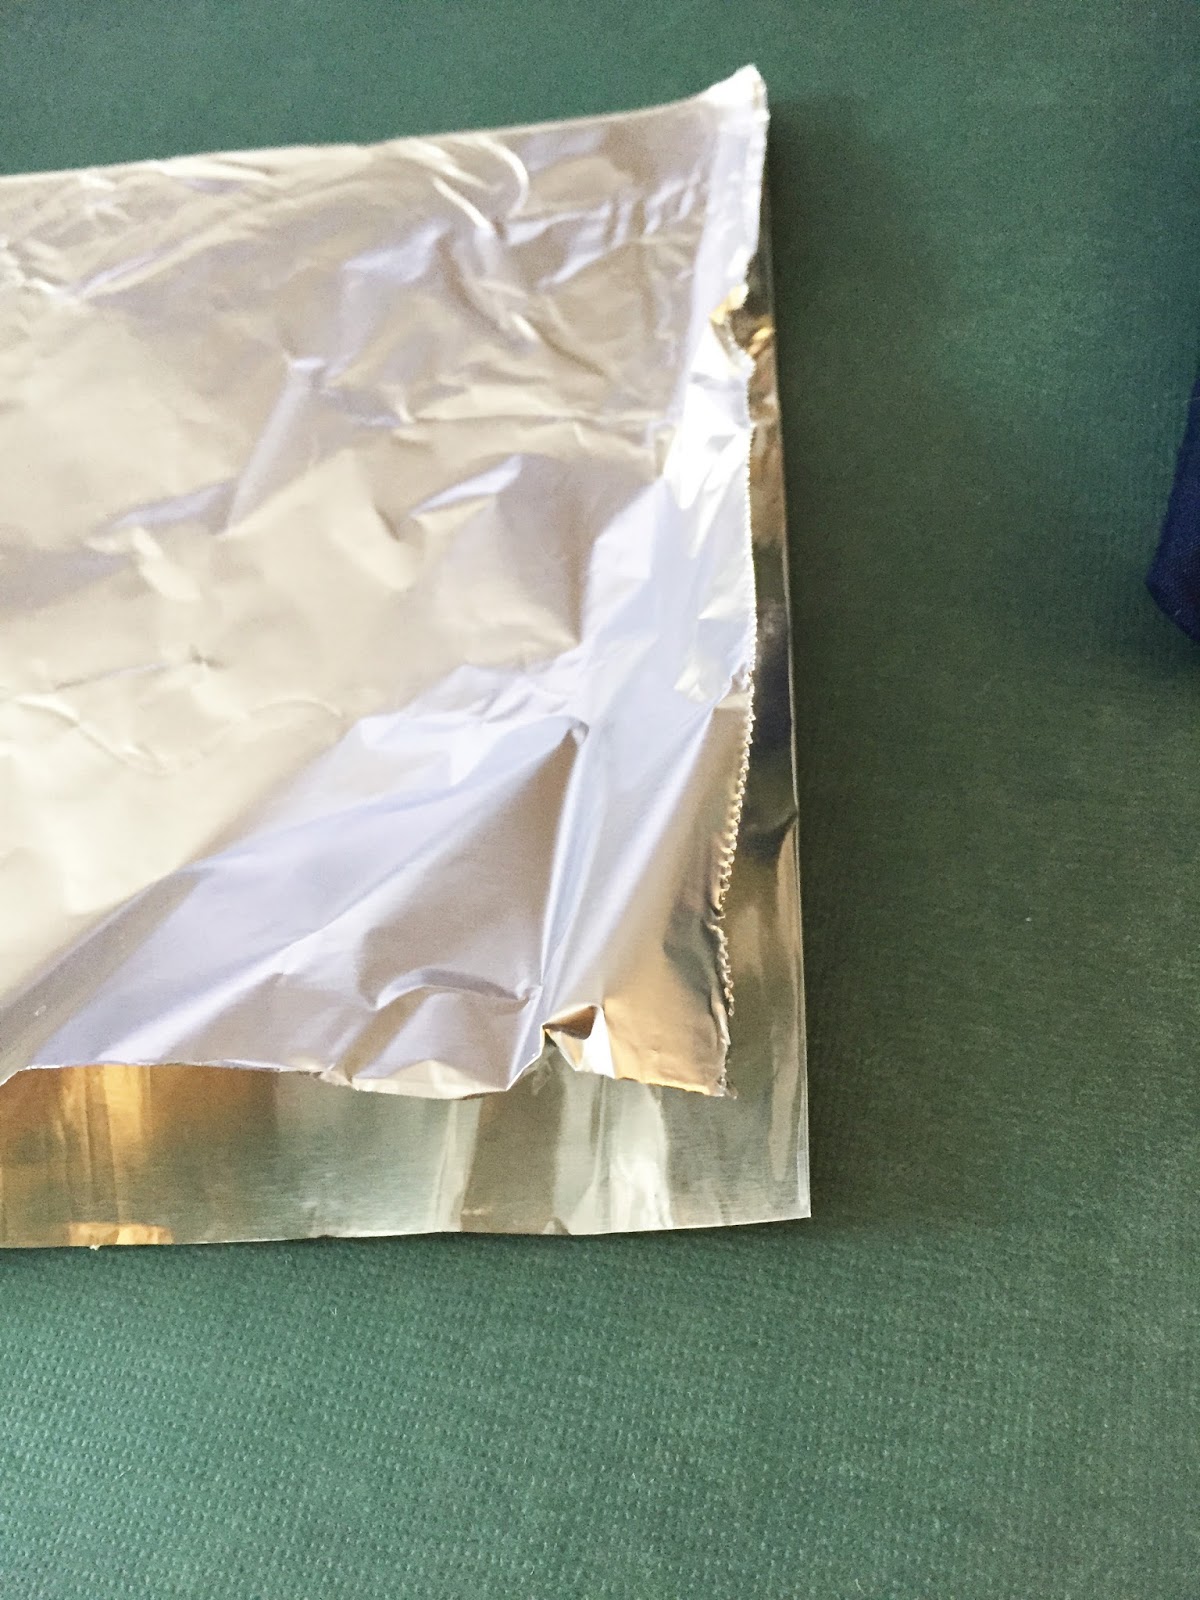
Cut a strip of tinfoil the width of your comforter and fold in half. Then trim that piece to the length of your comforter.
Gently fold it in on both sides and slip it into the comforter. Open it up inside with your fingers.


Cut some wadding the exact same size. Don’t cut it any smaller because you want it to fill the edges nicely. Even a tiny bit bigger is good.
My wadding was peeled away so I have a flat side and a puffy side. I put the puffy side up and the smooth side on top of the foil. Slip it in the same way you did the foil. Keep the wadding side under the part of the quilt you want to be fluffy. If you are making a reversible you can use a thinner sheet of wadding on both sides.


Sew up the hole at the foot of the comforter.

You can sew a pattern on your comforter using a sewing machine.

Place the comforter on your mini bed and shape it over the sides.


A lot of things will determine the type of shape and fold you will get.
1. The thickness of your fabric and wadding: The thinner the better. You may decide to use felt because it is thin but you may not get that fluffy comforter feel.
2. The pattern you sew on your quilt: The more areas you sew, the stiffer your comforter will be. Consider more layers of foil if you want this effect.
3. The size of your comforter: The larger the comforter the further it will hang over the sides of the bed.
You want the thinnest and most flexible fabric you can find. If you think it needs it then try using more foil layers. Also, I find washing new fabric first helps take some of the starch out.

This is in my Kinfeld dollhouse. (Before the window molding was installed.
See more of the Kinfeld here.
Do some experimenting and see what happens.


Un buen método para conseguir movimiento en los edredones.
ReplyDeleteUna idea fantástica , gracias por compartirlo, Su habitación le ha quedado perfecta:-)
ReplyDeleteThe tinfoil works a treat Auralea, and the various comforters you have made look nice a warm and each bed looks very Inviting! :)
ReplyDeleteelizabeth
I love those Santa beds! So adorable! Great tutorial! Thanks for sharing!
ReplyDeleteIt's a nice idea!
ReplyDeleteThank you! This is a wonderful idea. I'm going to use it also to scrunch up material around a sewing machine. The foil will be on its backside.
ReplyDeleteI love the tin foil idea! Your work is stupendous! Thanks for sharing tried and true tips!
ReplyDeleteI've just started making things for my 1st dolls house and used this tin foil idea for my master bedroom bedspread. It's brilliant. Can I ask where did you get the beautiful material used in the Santa's cottage comforters ?
ReplyDeleteHello, Thanks! I got it at Joann fabrics a few years ago. :)
Delete