Previous post
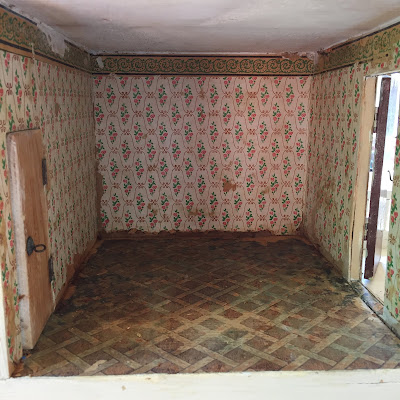
The old floor was destroyed from ripping up the carpet so I had to make my own based on small samples that were mildly visible.
Here is a photo of the damaged floor and the new floor I created.
I drew it and built it in Adobe Indesign then brought it into Photoshop and put a noise filter on it and then kept doing color tests and printing tests. (Above isn't the true color of the original floor.) I had to keep holding a sample next to the real floor to get the color exact.
Then I printed on regular paper, sprayed three coats of fixative, painted 2 coats of satin varnish, and Installed with a spray fixative. I’m a lot happier than I thought I would be with it.
Above: When I first got the house.
Before wallpaper and floor
After
The wallpaper is so much fun! I love turquoise and red together.
Next up is the foyer.


The floor looks wonderful!
ReplyDeleteLOVE, love, love this. The floor is fabulous. What a great result, you wouldn't know it is 'the real thing'. I love your wall paper also. Did you make that as well?
ReplyDeleteHappy mini Monday,
Anna x
I printed the wallpaper from an image I saw online. :)
DeleteFantastic!
ReplyDeleteNice floor. It looks very much like the original!
ReplyDeleteHa quedado muy bien.
ReplyDeleteFabulous job Auralea! The flooring and the wallpaper have given new life without compromising all the original character! What a treasure!
ReplyDeleteThx Jodi!
DeleteThank you Jodi!
DeleteI love, love, love your new floor! Who would have thought it was made the way you describe - it is the perfect renovation. The wall paper too is just fabulous. Did you make that also?
ReplyDeleteHappy house building,
Anna
Thank you. I found a sample and then built it in Photoshop.
DeleteYou have done a great job on the restoration. The new flooring and wallpaper look awesome. Looking forward to seeing what you do for the foyer!
ReplyDeleteThank you Troy!
DeleteCan't believe how well the floor cleaned up! I really think the wallpaper is a beautiful choice, very fitting for this house!
ReplyDelete