
A friend asked if I would show her how to make a book so I thought I would post for my other mini friends as well. Here we go!
This is a long process to create a little book, but I came up with it because I wanted to see the page texture when the book was closed. With antique books sometimes there are also little chunks of pages set out from each other. This technique really accentuates that. You could also skip the page method all-together and just use a block of wood. It depends on the effect you want.
Print out the covers with spines on card stock.
If I’m making ‘old books’ I use cream paper because I feel it makes the colors look richer and I have a lot of this paper on hand. Let the ink dry for 15 minutes.
Then spray with a fixative, wait two minutes and spray again. Let that dry for 10 minutes or more.

Get a medium-size, flat, soft paint brush and brush on satin gloss. This needs to be done quickly and evenly, because you don’t want to pull up your ink. Brush down, brush up, and go back down to be sure there are no thick lines of varnish.
Clean your brush. Once the varnish is dry, brush on varnish smoothly again. Let dry.

I use old issues of EveryDay Food magazines because they are small, similar to the old TV guides (do they still print those?). Ideally you need a magazine with a perfect binding as shown in photo.
Rip off the cover and the back from the spine. You won’t be using the original spine so if that comes off too, no worries.
Determine the thickness of the book you would like to make. Hold the magazine in both hands and rip down the spine to get the pages off for that thickness. I have made quite a few books so my magazine is very short. But you can see the spine and the thickness.

with cover still on

cover, back and spine pulled off
Next, put your magazine on the edge of the table and put some sort of weight on it, but keep the loose page edge free and clear from the weight.


Paint Mod Podge on the long edge. You don’t want it too thick so put it on two times in thin coats being sure to push hard enough to keep the texture of the pages showing. Let it dry and do this once more in a thin coat. Let dry.
Cut out your book covers and use pencil or marker to color the edges. I also color the back inside around the edges just in case a piece shows.


Line your book up on your ruler so it is square and bend on the spine line.

Then press your partially folded cover against the magazine and fold over.

Mark a line just inside your cover at each end of the magazine.

For this next step your blade needs to be very sharp. Either give it a good workout on your sharpening stone or put in a new blade. I have had this one blade for months using my stone! We are such throw-away society, every little thing we can do to conserve helps. Plus, the sharpening stone makes a great weight.
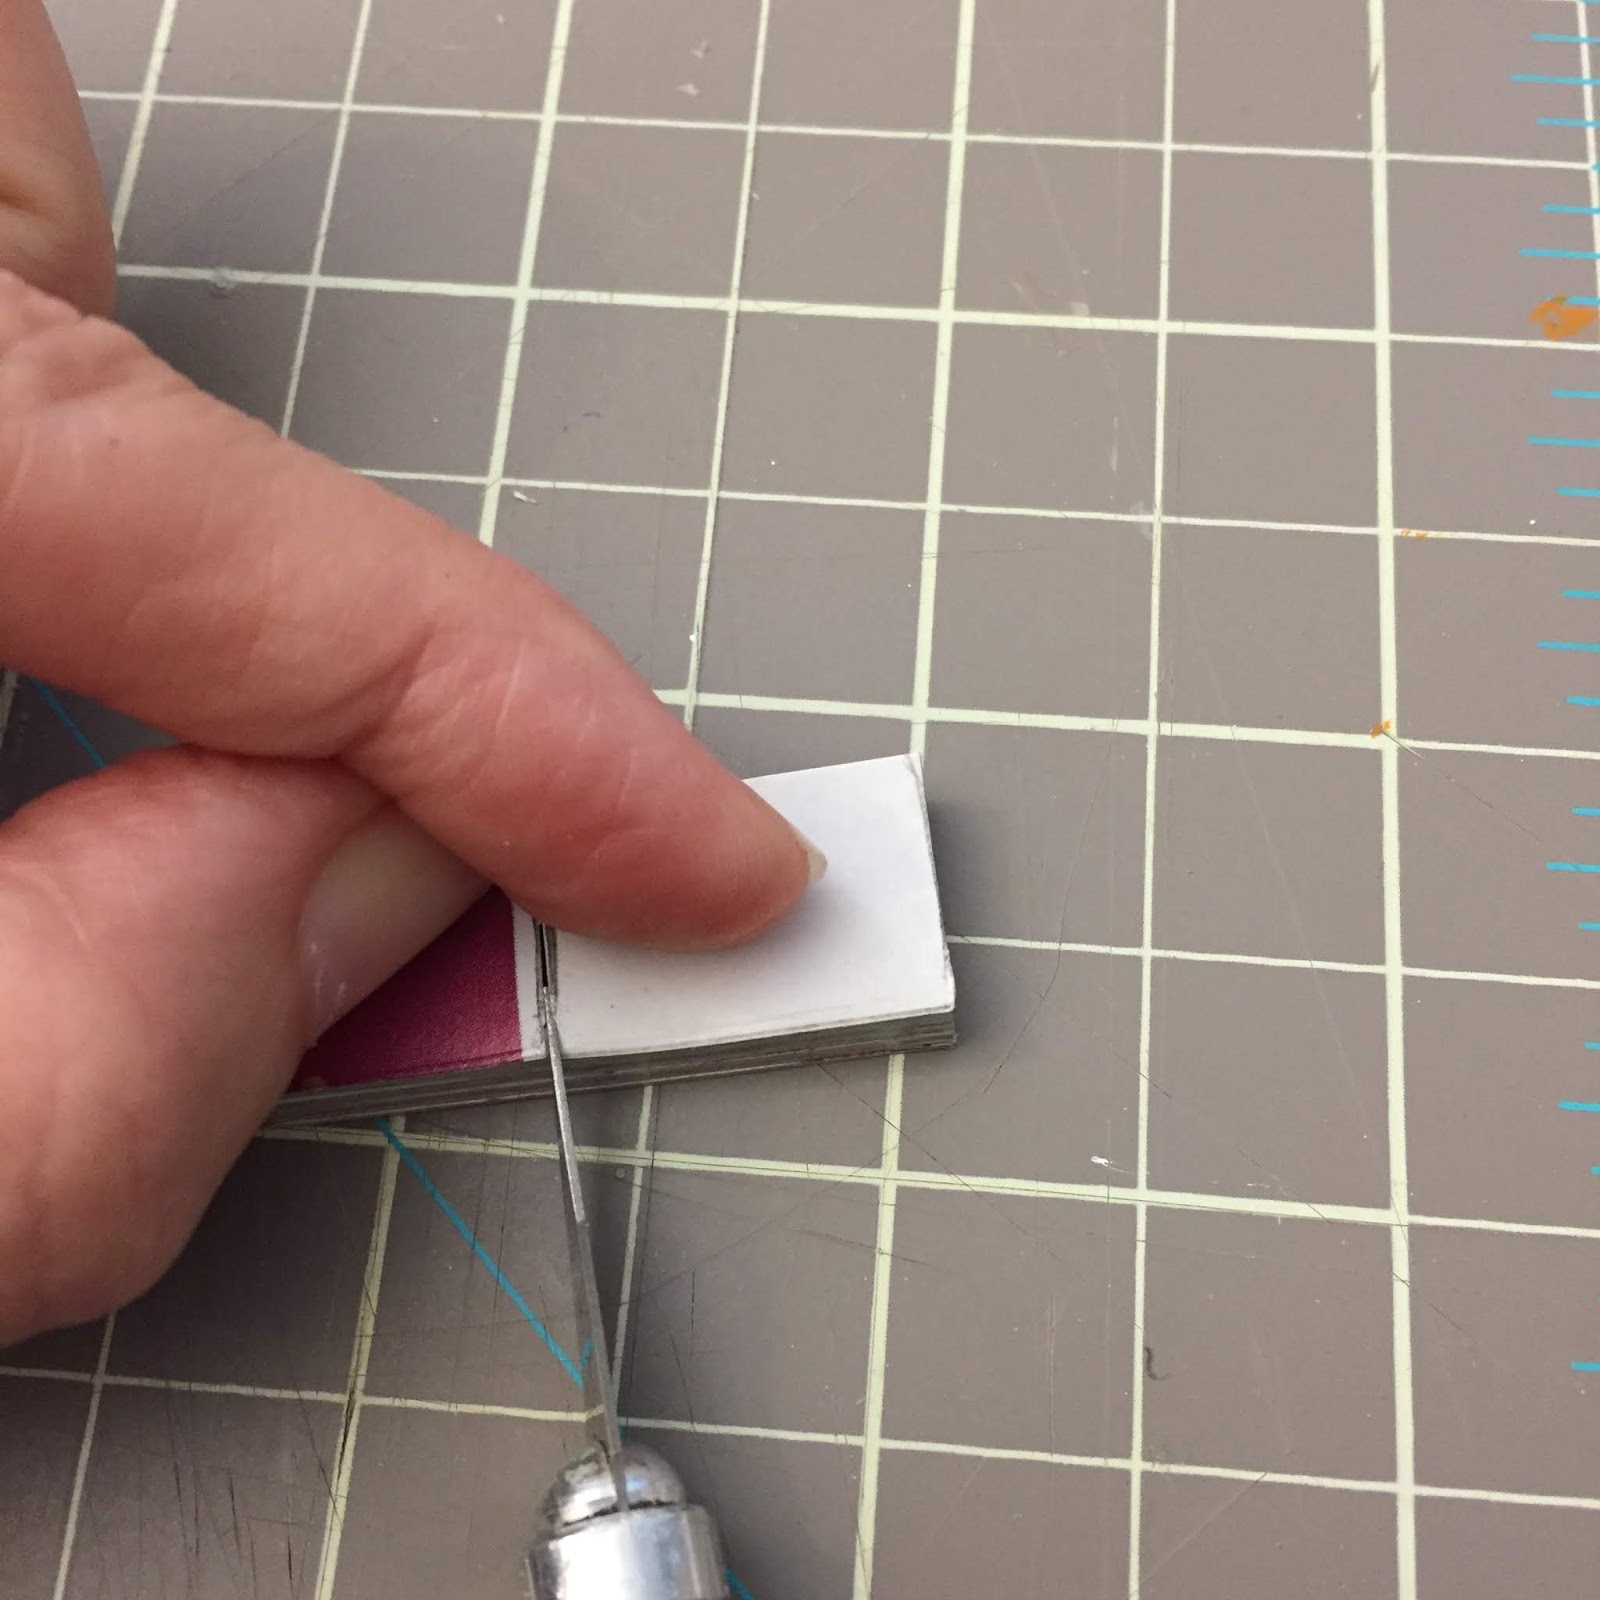
Line a metal ruler (with a cork back) up and keep cutting until you have cut through. Keep your blade as straight up and down as possible.

Put your cover on the new piece you cut and draw a line for the height. Make it just inside the book cover so it will look real.

I will cut the side that is not glued together towards me and not cut the Mod Podge side with my knife. Then I turn it around and start cutting through the Mod Podge part. It helps keep the cut cleaner without squishing it and cutting crooked.
If you’re not comfortable doing that just cut straight through towards yourself with the Mod Podge facing spine away from you. This is why I make a few books at a time because some will be keepers and some will be a little rough and look better on a bookshelf.

Depending on your Mod Podge covering it might come apart, just Tacky Glue it back together by coating glue on the actual page. Press together and wipe away any excess glue. Press until dry. Don't be disappointed if this happens! This is one of the things that will make your book look more authentic. Old books can have jacked up spines. That is what gives them character. If you want this effect cut a piece away and glue together.

I line up my books on the edge of my table and put a weight on them and paint the edges with bright white paint (It helps cover the dark edges quicker than two coats of cream) then Mod Podge and then cream colored paint. If you want your edges to be gold then you can paint them gold or use a gold gel pen. Try not to let your paint clump up on the back and front as you paint the edges. You can lightly sand them later but it’s better to take care of it while painting. I added the scrap piece to keep my weight flat.


Once the edges are dry you can paint the top and bottom. It’s a long process but worth it if you want a little book that will look nice in close up photos.
Clean your hands! Keep a damp wash cloth handy. A clean work station will always result in a cleaner finished piece!
Test fit your books into their covers to see which fits the nicest. Coat the front, back, and spine of the book with Tacky Glue and smooth over with your finger to the edges. Use your middle finger so you can use your pointer finger to press together. Place inside your cover and press until dry. I used my froggy weight! Yup, that’s how I roll…me and stone froggy makin’ minis.


For a finishing touch I like to use a course paint brush and rub on some dark yellow and brown pastel chalk. Blow off the extra and rub over the book edges with your finger.

So now you have some cool antique style little books! have some fun finding cool covers. Next time you are at an antique/junk shop snap a few cover photos of an old book opened flat with your phone. And maybe buy a little something for your project in return for a great cover shot.


Very nice! I'll have to try this out when I'm making books for my WQ
ReplyDeleteMuchas gracias. Un buen tutorial.
ReplyDeleteThis is fabulous, Thanks you! I have a book case to fill and would like to have realistic looking books. Now I know how to achieve that. Brilliant!
ReplyDeleteThank you Anna!
DeleteThank you for the suggestion of using old magazines. I hate to toss them. I need books for my current project, and this has made me excited to get started.
ReplyDeleteAwesome. Glad I could help!
DeleteExcellent tutorial, thank you for sharing! The end result is perfect!
ReplyDeletea Beautifully illustrated tutorial Auralea!
ReplyDeleteI love your books and the way you've displayed them on the piano ♥︎